I'm having my own little
scrap-busting party here this week... first
the pillow made from quilt scraps and now this project made from scrap fabric leftover from
this bag I made for Jamie a few years ago (complete with bunny lining to irk Mikey). I decided that, like mother, like daughter, Baby Zoe might appreciate this combination of fabrics.
I wanted to find an easy pattern that A) didn't require much fabric and B) didn't involve printing out a pattern. My internets/Google quest resulted in me choosing to make
a "pillowcase" top based on this tutorial (the tutorial is for a dress, but my scraps only afforded me so much length). Turned out pretty cute! Definitely a good way for me to practice my sewing skills. Hopefully I can find a way to get this thing around the world to Zoe before she outgrows it like she did
her booties (
tears...).
For those interested, here's how I modified the pattern...
- Rather than cut eight 6x18" strips, I cut eight 6x12" strips
- For the hem, I only cut strips that were 6x22" rather than 7x22"
- I made the size 2T (meaning I cut off 1.5" of the end of the pieces as suggested by the tutorial)
- When piecing the front and back together, I pressed the seam open and top-stitched
on either side of it so that it matched the decorative top-stitching
used on the other seams. Plus, it provided me some back-up strength on
those side seams!
- Rather than make or use bias tape
(not enough fabric!), I just cut two long, thin strips (1.5" wide),
folded them in on themselves and did two rows of top-stitching to make
my own ribbon for the shoulders
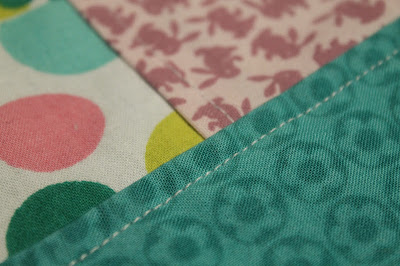 |
| Close up of my masterful (haaaaaa!) top stitching. |


