Showing posts with label peplum. Show all posts

Friday, December 5, 2014

Kanerva in Lawn

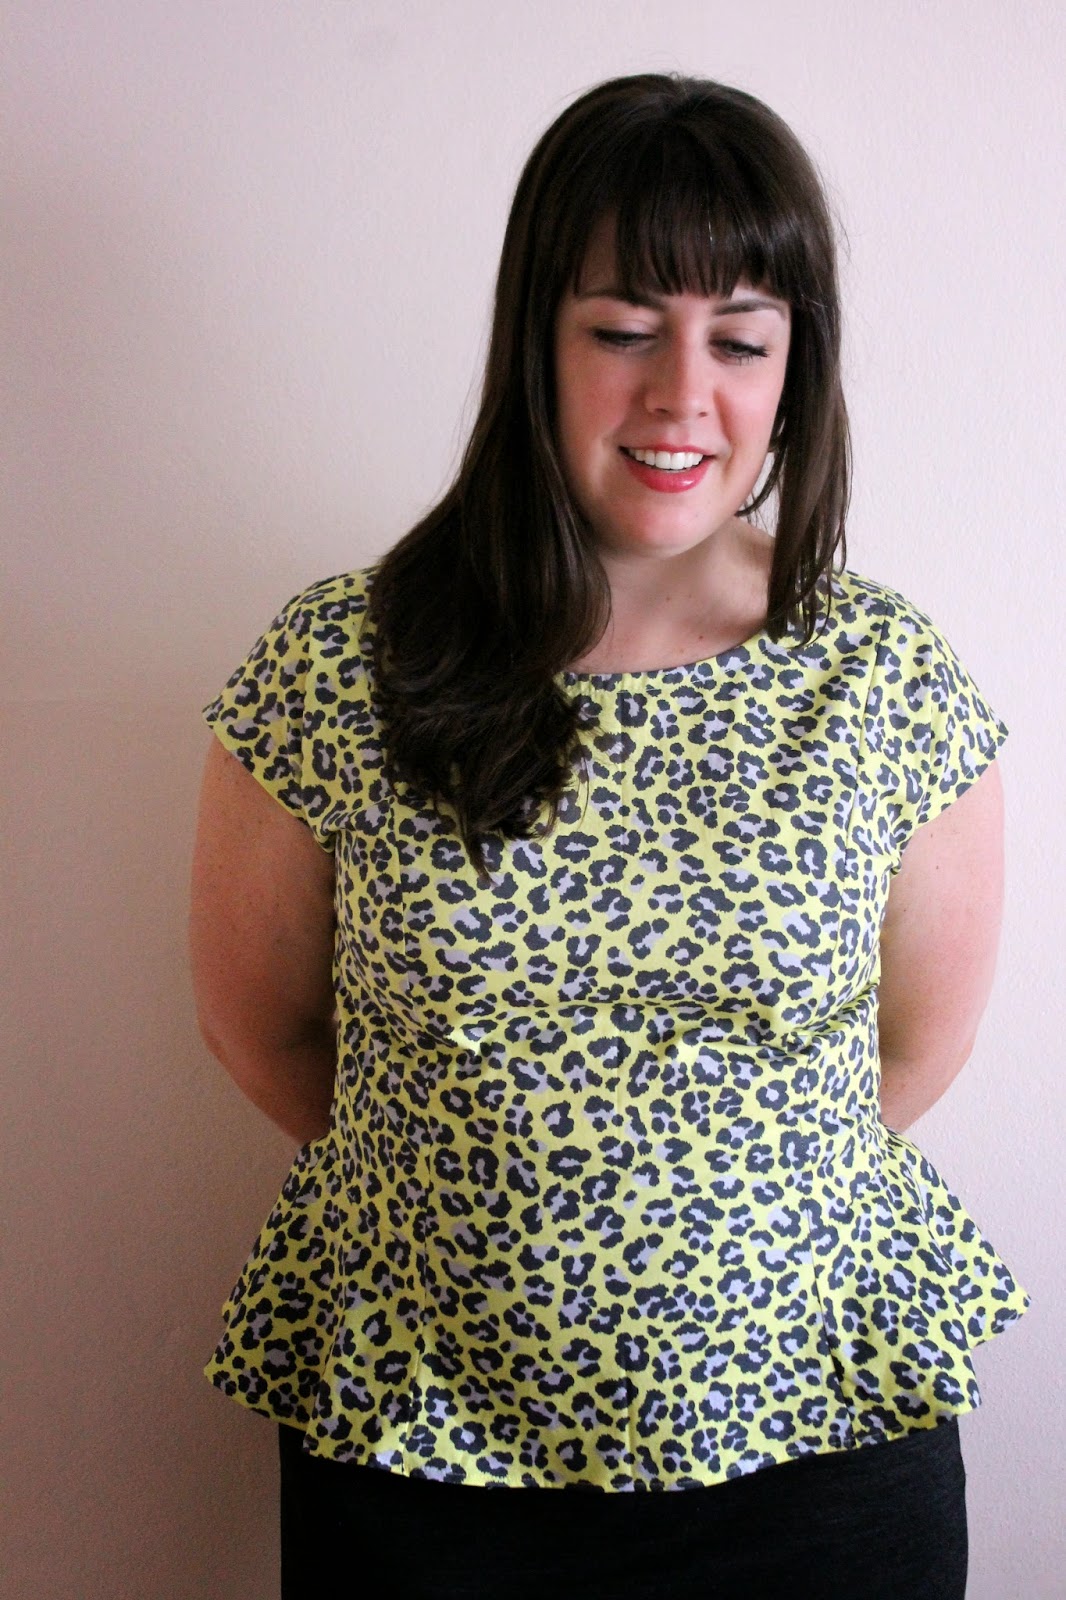
Woop woop! Back at my sewing machine after a few weeks off, busy with work, a business trip to Vietnam and Thanksgiving.


My first foray back into sewing is the Kanerva peplum blouse by Named. I think the pattern is a sleek, modern take on the peplum and I love the button back. I've had my eye on it since I saw it pop up around the blogging world earlier this year... I was particularly enamored of Kirsty's two Liberty Kanerva blouses. Amazing.


Tuesday, October 7, 2014

Leopard Simplicity 1666: Cat Lady Sewing Challenge #2


And now for something completely different... my second entry into the Cat Lady Sewing Challenge!

Saturday, May 10, 2014

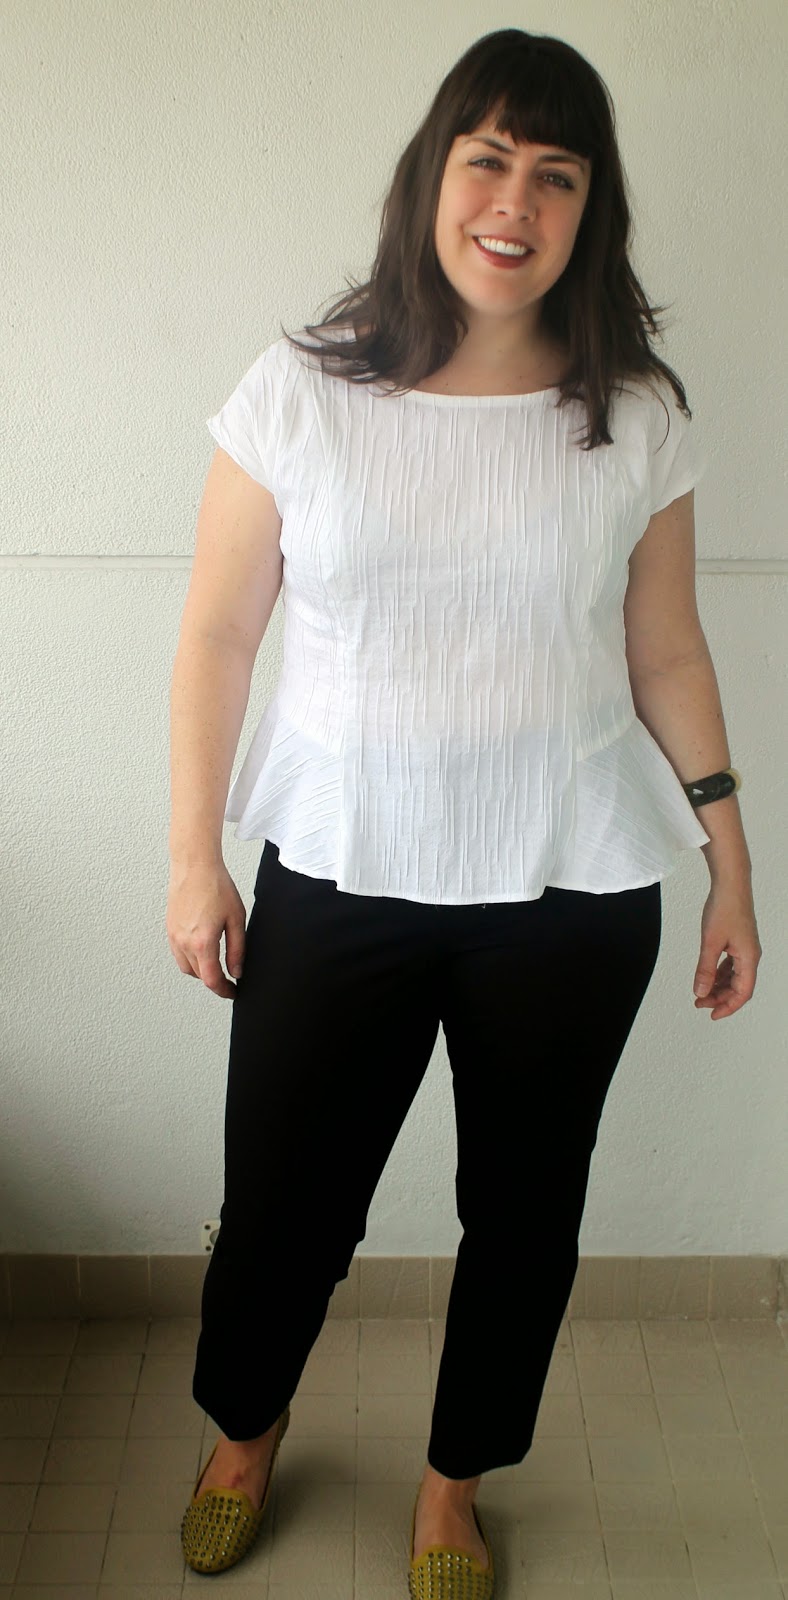
Spring Top Sewalong: Simplicity 1666 aka Lisette Attache


Still on the hunt for a great white blouse, I opted to sew up the Attache blouse in the same slightly stretchy, textured white woven fabric from Bangkok's Chinatown that I used for my version of Liesl and Co's Weekend Getaway blouse (blogged here!).  This time the fabric was a much better fit with the pattern, though.  Fabric choice: it matters!  (A fact I have learned the hard way a few times.)

I always worry about sheerness with white fabric, so I skipped the facings and used store-bought bias tape as a facing instead.  The sheerness factor may become problematic with those princess seams, though... the seam allowances show through, which is fine because it shows the nice lines of the pattern, but the ones on the curvy part of the bust won't lay flat.  I pressed them open.  Should I have pressed them to one side?  Hmmmm.


Since my fabric was stretchy, I skipped the zipper and cut the back piece cut on the fold, minus the seam allowance, mais oui.  I think, perhaps, that one might be able to get away with no zipper even for a non-stretch fabric (but don't quote me on that).


I love this pattern!  I like how the front and back are flat, but the sides are peplum-y!  It looks kinda neat with my fabric choice because the texture runs vertically on the bodice portions and then diagonally on the bias cut peplums.  The pattern is super easy to put together, too.... I am definitely considering making the dress version, too, which looks like a great basic.


Also, this happened during the making of this blouse:


Saturday, January 18, 2014

Lady Skater Peplum Top

It's like a peplum parade 'round these here parts, eh?  Here's my latest peplum: a wearable muslin of Kitschy Coo's Lady Skater dress done as a peplum top according to her instructions.

I made this top from some crazy '80s print knit fabric Martha dug out of the basement for me (thanks, Martha!)... I'm pretty sure George Michael, Duran Duran or someone of their ilk had a t-shirt made from the same fabric back in the day. I also got to use my new twin needle (double thanks, Martha!) for the hem, which worked like a charm.

I think I dig the pattern, although after a week of wins, it's slightly disappointing. I think it just needs some size changes to work for me, though. I'm definitely going to make it again, but go down a size and hopefully get the alterations correct.  I certainly love the neckline: super flattering!  The top is really comfy and more exciting than a regular t-shirt.

Changes I made to the pattern:
  • I cut the skirt to 11 inches from the waist line for the peplum and then slashed and spread it about 4.5 inches to make it more drapey (maybe too drapey? yes, much too drapey.).  
  • After putting the top together, I realized the waist hit me in a terribly unflattering spot, so I shortened the bodice by about 2 inches.  
  • I was sorta between sizes, so I went for the larger size to be safe, but I think next time I'll go down a size- this was a bit loose in the high bust under the armpits and in the waist, although I think the waist got a bit stretched out when I unpicked it to shorten the bodice... perhaps a run through the dryer would help shrink things back to size?  Ha ha, I jest.  I don't have a dryer here in Bangkok and you can tell because all of my clothes are super stretched out from hang drying for 2 plus years. 
  • I didn't follow the directions for the neckband: I sewed the shoulders together, sewed the neckband in a circle and then eased it in successfully.

Thursday, December 19, 2013

Polka Dot Hawthorn Peplum

I bought Colette's Hawthorn pattern months ago during some such sale or another (because I am cheap and refuse to buy patterns full price).  Since then I have been hemming and hawing over it, worried that the style was a bit too twee for me.  However, at the same time, I have been obsessed with some of the blouse versions I have seen on ye older internets, namely this one and this one, both in polka dot fabric.


I ultimately decided that maybe I could pull off the polka dot blouse version if I found some darker colored fabric to take the girly edge off.  Luckily I scored some super cheap black and teal polka dot fabric on Bangkok's crazy Sampeng Lane.  Because of the fabric's price I didn't feel too bad treating this first version like a wearable muslin; and wearable it is! I think it came out pretty cute!  Not without faults, but cute nonetheless.  Definitely has a vintage vibe to it without being old-fashioned.


The faults: I think my collar interfacing may have been too thick because I cannot get get it to lay flat... I've heard others had this problem, too, so maybe it's not just me.  I sewed it down at the shoulder seams, but may have to sew the corners down, too.  Also, the waist is bit messed up- somehow my button placement is off or my hook and eye insertion is faulty (or both), but there is a big ugly gap at the waist, so the top can't be worn without a belt.  The nips may be a wee bit pointy, too.


I skipped the sleeve bands out of laziness and just serged and folded up the hem to maximize length, but otherwise followed the pattern.  I made covered buttons for the first time using a kit I got at the Japanese dollar store here in Bangkok (might be my new favorite store)- fun stuff.  

I think next time I'd like to play with a lower neckline- a deeper V.  Not sure how to go about that, but I'll figure it out!

Tuesday, April 23, 2013

Pep in my step...


Buoyed by my success with Tim's plaid Negroni shirt, I attempted a pattern that had been sitting on my shelf, staring me down and trying to intimidate me for months.  Three fears conquered on this project:  adjusting darts, installing a zipper and wearing peplums!  Woot!

This top, which looks like a whole lot of nothing on the hanger, was made using the Vogue 8815 peplum top pattern (view B) and this Bromley "Ikat Burst" fabric.  I bought it back in 2012, when the peplum trend was in full swing.  Hopefully it's still socially acceptable to wear peplums.  I wasn't sure I could pull off the peplum look, but Stacy and Clinton are advocates of the slimming silhouette, so here I am.


This shirt is ridiculously easy.  The only change I had to make to the pattern was to lengthen and angle the bust darts out a bit.  Other than that, pretty simple.  Even the zipper was not too bad!  It's not the most even zipper ever installed, but, hell, it zips and I am not embarrassed by it.  Black on black helps for camouflaging, too.  Thanks for the zipper encouragement, Colleen!


I would definitely make this pattern again, although I might consider altering the neckline, as this one is a bit strangle-y.  Next time I might try the view C option with the high-low peplum (aka the mullet peplum).  Perhaps a stretch or ponte version? We shall see.

Omg, I am pale.  Not sure this is the best color for me...

Monday, March 18, 2013

Batik Peplum Bubble Dress


I am in awe of all the awesome and creative free sewing (and other crafts!) patterns there are on the internet, particularly for baby and kids clothes.  I've already taken advantage of many of them (Geranium dress, baby bloomers, quilted toddler peacoat, Junebug dress...), but even then I have barely scratched the surface.  Plus, I learn about another cool blog or website everyday... score for me!
Recently I discovered a kick-ass, new-to-me blog, StraightGrain. I love all of the cute and modern patterns and tutorials on this blog.  Here is an adorable little dress I made for Zoe using one of those free patterns: the peplum bubble dress.  I love the simple bodice and puffy little skirt (see below how the bubble look is created by attaching a curved lining to a larger, rectangle outer layer) ... I think it would be sweet with some little leggings.  I highly recommend this pattern!  The dress is quite easy to make and came together really quickly.


My peplum bubble dress is made from some inexpensive teal and hot pink machine-printed batik that I bought here in Jakarta (I guess it's not true batik since it's not wax resist, but it's a batik-themed print). 
I totally chickened out on putting in a zipper.  Soon. Soon.  I have an excuse, though, in that I didn't have the right colored zipper on hand, but I did have these great hot pink buttons that I bought last time I was in Bangkok. To add buttons to the dress, I just added about 1.5 inches to the inside of each back piece, folded each side under until I got sufficient overlap, basted the flaps down,old and then added buttonholes.  Also, I used pre-packaged bias tape rather than make my own for the neckline and arm holes.  I used the single fold kind, so it is tucked to the inside, rather than visible on the outside.