Monday, August 5, 2013

Shrimp with Sambal and Banana

Right before heading out on our 'round the world trip, the Real Martha cooked up this tasty dish that combined unusual ingredients (shrimp, overripe bananas and sambal?).  Before she made it I tried to convince her to make something else, assuring her that she would eat more rice and sambal than she ever dreamed of when in Indonesia, but she had seen this recipe on the Food Network and was itching to make it...  I'm glad she did because it came out pretty tasty!  An interesting mix of sweet, spicy and savory.


Definitely a good use for bananas that have sneakily gone overripe (other than making a variety of banana shakes).  The Indonesian sambal we used may have been a bit too spicy, but that's easily remedied by leaving a little bit out next time.  I bet chicken, tofu or tempeh would work well in lieu of the shrimp, too.

Sunday, August 4, 2013

Zoe and Anna: Top Models

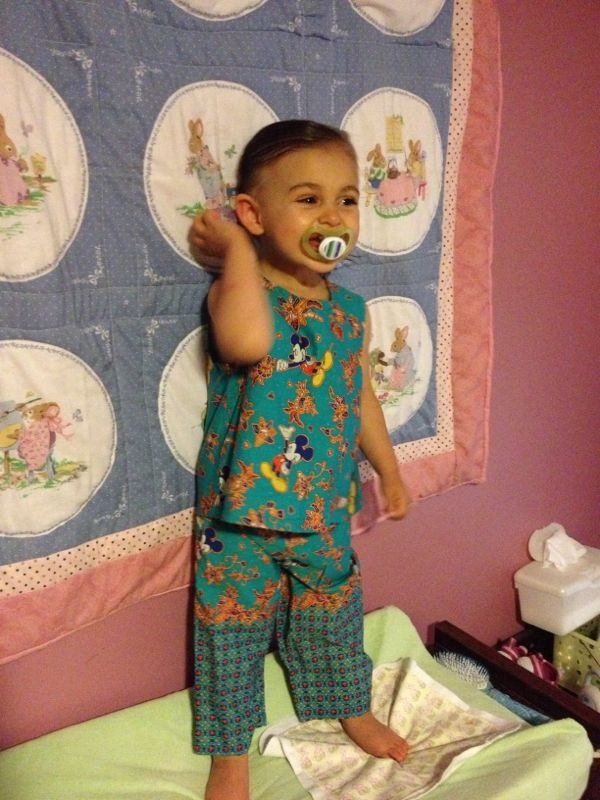
Here are some shots of Miss Zoe and Miss Anna rocking some of the clothes I've sewn for them.  They are so much cuter on the girls than on the hanger!!

Miss Zoe looking bookish in her prairie dress:


Smiling in her batik cuffed shorts (Simplicity 4203) and binge-watching Olivia while wearing her up-cycled board shorts:


You can't touch this when she's wearing her Hammer pants:


Fitting in some outdoors time while wearing her batik romper:


More TV time, featuring her flowered bubble pocket shorts:


And, finally, Anna looking quite happy and comfy in her baby bloomers!:

Friday, August 2, 2013

Kasbah Meghan

You're probably sick of seeing this pattern from me, but here is Sis Boom's Meghan peasant pattern in dress form.  I made it with some beautiful Amy Butler fabric, Kasbah in Midnight Blue, which is kind of a faux ikat print.


Love it!  I've worn it approximately twice a week in the past month since I made it... love the print, love the pattern, love how comfy it is!

Thursday, August 1, 2013

Frankendress

Buoyed by my success with the Meghan Peasant Blouse/Dress from Sis Boom, I also bought the Angie dress pattern and gave it a try.  I used this gorgeous fabric from Anna Maria Horner, Field Study Raindrops Poppies. 


After putting the dress together, I decided to make some changes. While the neckline and bust darts fit well (yay!), the bodice was way too wide for me- I ended up taking in almost an inch off both sides. I also found that with the fullness of the skirt, the simple tank top bodice seemed sort of skimpy/insubstantial in comparison.  I decided that I wanted to add some short sleeves to the dress, so I used the sleeve pattern from my dead-in-its-tracks Colette Peony dress. 

It definitely needs a belt to break up the dress, give it more of a waist and de-girlify it a bit... I was wearing Tim's hiking belt backwards in these photos because I didn't have the right belt yet at the time.  Ultimately I decided on a long, skinny, black fabric belt, which I wore with the dress at the Jenneth wedding festivities:

I have no idea what we are doing here, but the dress looks cute, eh?

Wednesday, July 17, 2013

Jenneth Wedding Jewels

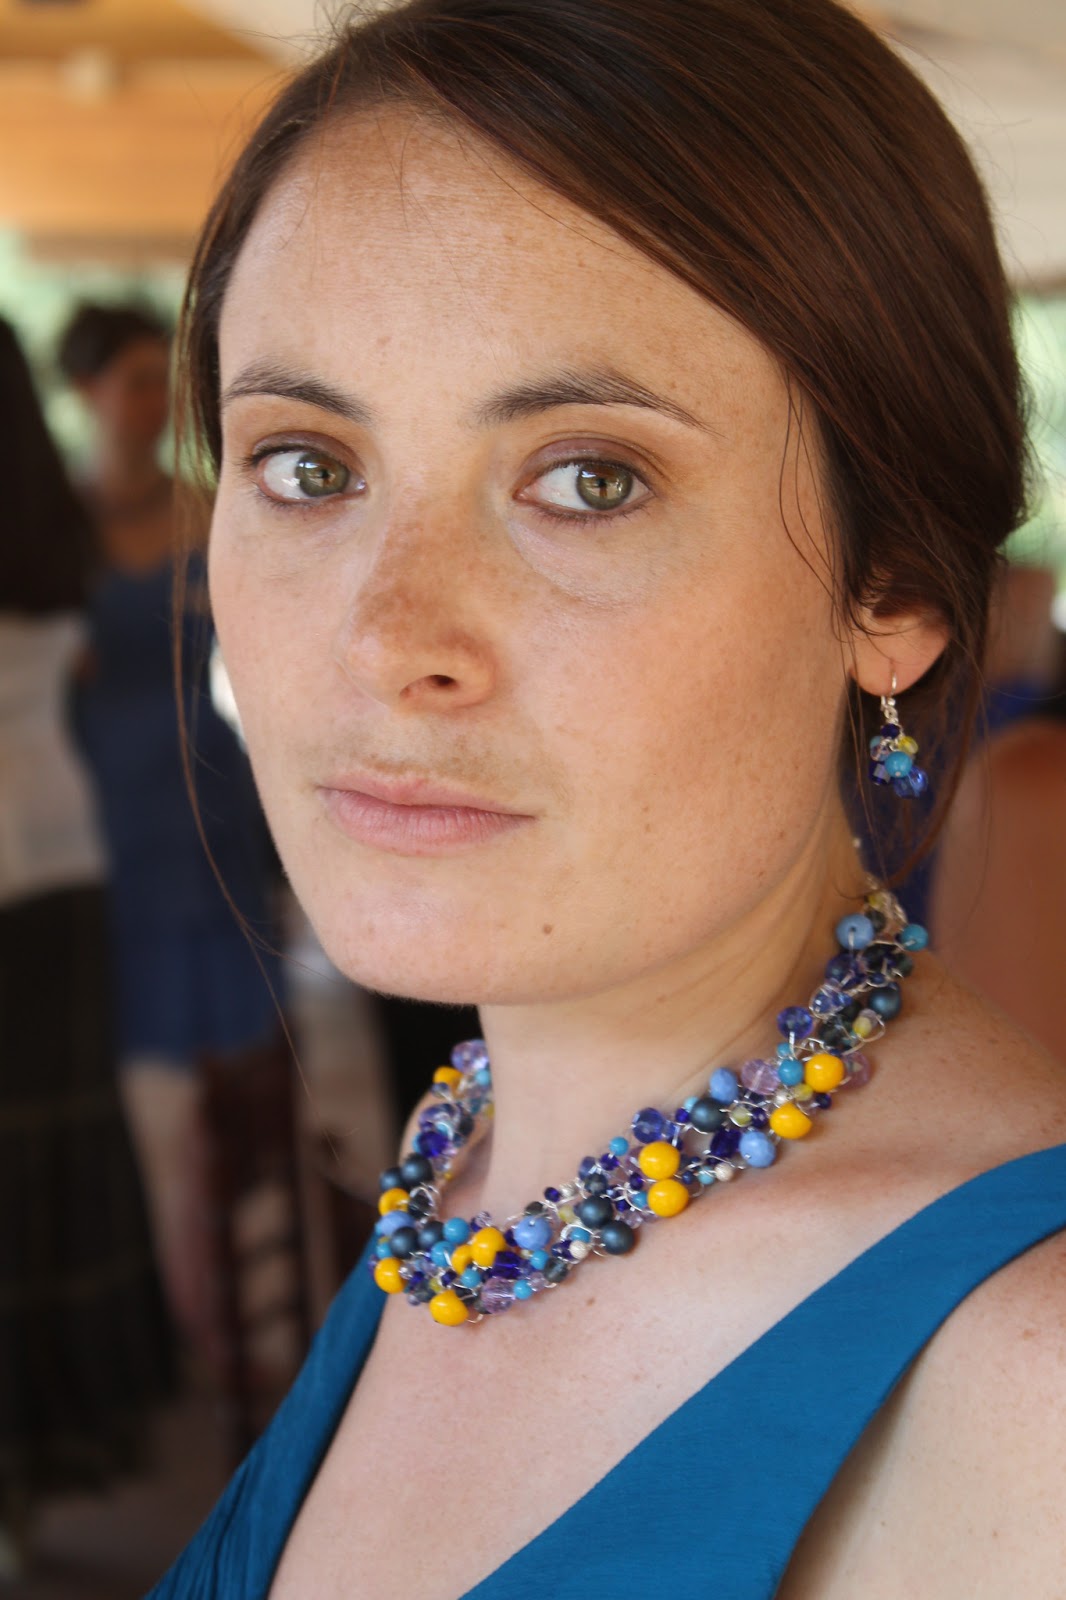
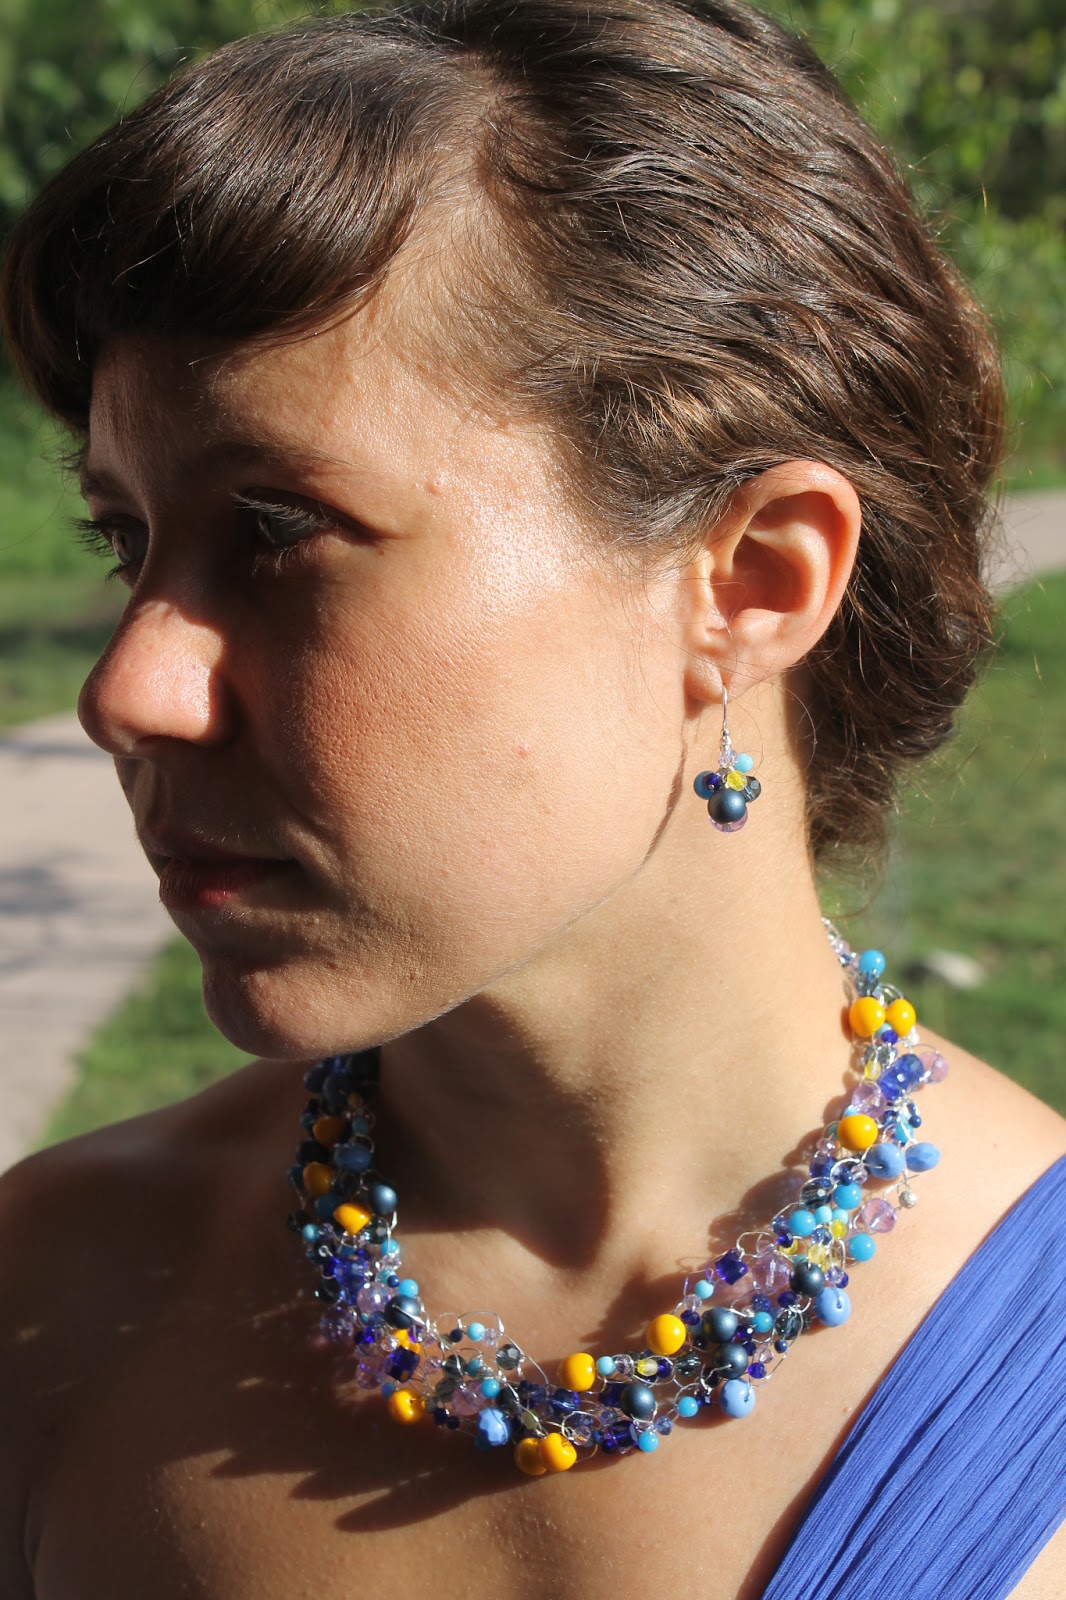
I had the honor of attending the wedding festivities of Jenny and Kenny (henceforth known collectively as "Jenneth") in lovely Custer State Park in the Black Hills of South Dakota a few weeks ago.  Jenny partook of my services for the bridal party jewelry, and here's what we came up with:


A mix of shades of blue and yellow beads, some sparkly, some matte, crocheted together on silver wire...  they came out pretty awesome and everyone seemed to love them!  I made them very loosely based on this video tutorial (which I've used before, here and here).  However, I used significantly more beads... probably 30-45 per strand, started with 5 or 6 empty (beadless) stitches and then pulled a bead up on each stitch until I was done with the beads, then another 5 or 6 beadless stitches.  

Here are some of the lovely bridesmaids, Colleen and Eileen, modeling the jewels and doing their best Blue Steel.. hot!:


Congratulations again, Jenneth!!!

Friday, July 5, 2013

Mo Shawties

More and more shorts...  these two pairs are both made from the Simplicity 4203 pattern, but with some modifications.


The plaid pair has pockets sewn on each side (I used the flap pockets from the Colette Negroni pattern), and the striped pair has a button tab on the side of each leg as an accent.

Monday, July 1, 2013

Pattern Blocked Scout Tee

Q: Which one of the three design features on this iteration of Grainline's Scout Woven Tee was intentional?

a) The contrast stitching

b) The diagonal pattern blocking

c) The button down back
 

A: If you guessed b, you are correct!  I had this awesome pattern blocking tutorial by Mad Mim bookmarked for months now- I love the diagonal line (not to mention her awesome hand stamping)!  I had big plans to use my trusty Grainline Scout t-shirt pattern as the basis for my pattern blocked tee, but somehow these plans didn't come to fruition until this week. My impetus: a few weeks ago I saw that Kollabora and Sown Brooklyn were hosting a Scout Tee sewalong/contest and I decided that this was the perfect reason to put my well-laid pattern blocking plans into action.
 

The other two design elements (the button back and the contrasting stitching) were pretty much accidental.  I didn't have enough black fabric to cut the back on the fold (hence the button back) and I (in)conveniently ran out of black thread right before sewing (cue white contrast stitching).  But I kinda dig the result, so we'll call them happy accidents...
 

Here are the deets: black cotton fabic from Pasar Mayestik plus some really cool black, white and minty green geometric/floral batik (scraps from another Grainline Scout Tee as well as a Grainline Tiny Pocket Tank I made as Christmas presents for Martha and Chuck, respectively).  For the front I followed Mad Mim's directions pretty much to a "T" (har har), and for the back, I traced the pattern piece not on the fold but cut two separate pieces that I extended out 2 extra inches at the inner seam.  Before adding the bias tape to the neckline I zig-zagged the inner edge of both back pieces and then pressed each of them under 1 inch to make the button plackets, which I top-stitched down.  Add buttonholes, buttons and ta-da!  I also lengthened the top a little bit- an inch or so.