A bit outside my comfort zone with this seasonal, crafty, non-garment sewing! But let's roll with it.


Because my apartment has high ceilings, I have a very large blank space above my television that I wanted to fill with something decorative for the holiday. Holiday fabric bunting to the rescue!

My mother has a large stash of Christmas-themed quilting cotton for various reasons (quilting, gift bag making, etc.). She let me raid it and take small pieces of about 20 different prints. With those pieces, I made this fun bunting!

Here's a quick tutorial on how to sew this bunting. This set is Christmas themed, obviously but the bunting would be a fun project for any holiday, event or just to decorate your sewing room. It uses up small scraps, too, so we can also call it a scrap buster!
BUNTING TUTORIAL
1. To form the two sets of bunting you see in the photos, I used 2 packages of pre-packaged extra wide double fold bias tape, which comes in 3-yard lengths. 3 yards was perfect for my purposes, but you could join the bias tape to get longer lengths as needed. The bias tape is great because it encloses the raw edges of the triangles. Press it before you get started, as it comes out of the package quite creased.
2. Draw yourself a cutting template (or if you're handy with a quilting ruler and rotary cutter, perhaps you don't need a template): I cut my triangles to be about 7" wide across the top and 11" long. I just sorta eyeballed what looked right and that's what I came up with. You could go bigger or smaller, as you like.
3. Cut out pairs of triangles from your chosen fabrics. For my longer bunting, I used 15 sets of triangles, and 11 sets for the shorter. Make sure that you cut any directional fabric, well, in the right direction.

4. Place the two triangles from each pair right sides together, and sew the long edges, using a scant 1/4" seam allowance, pivoting at the point. I recommend chain piecing the triangles here to get this done quickly!


5. Clip the triangles apart and trim the points.

6. Turn the triangles right side out, carefully pushing the points out with your point turner of choice. Press.
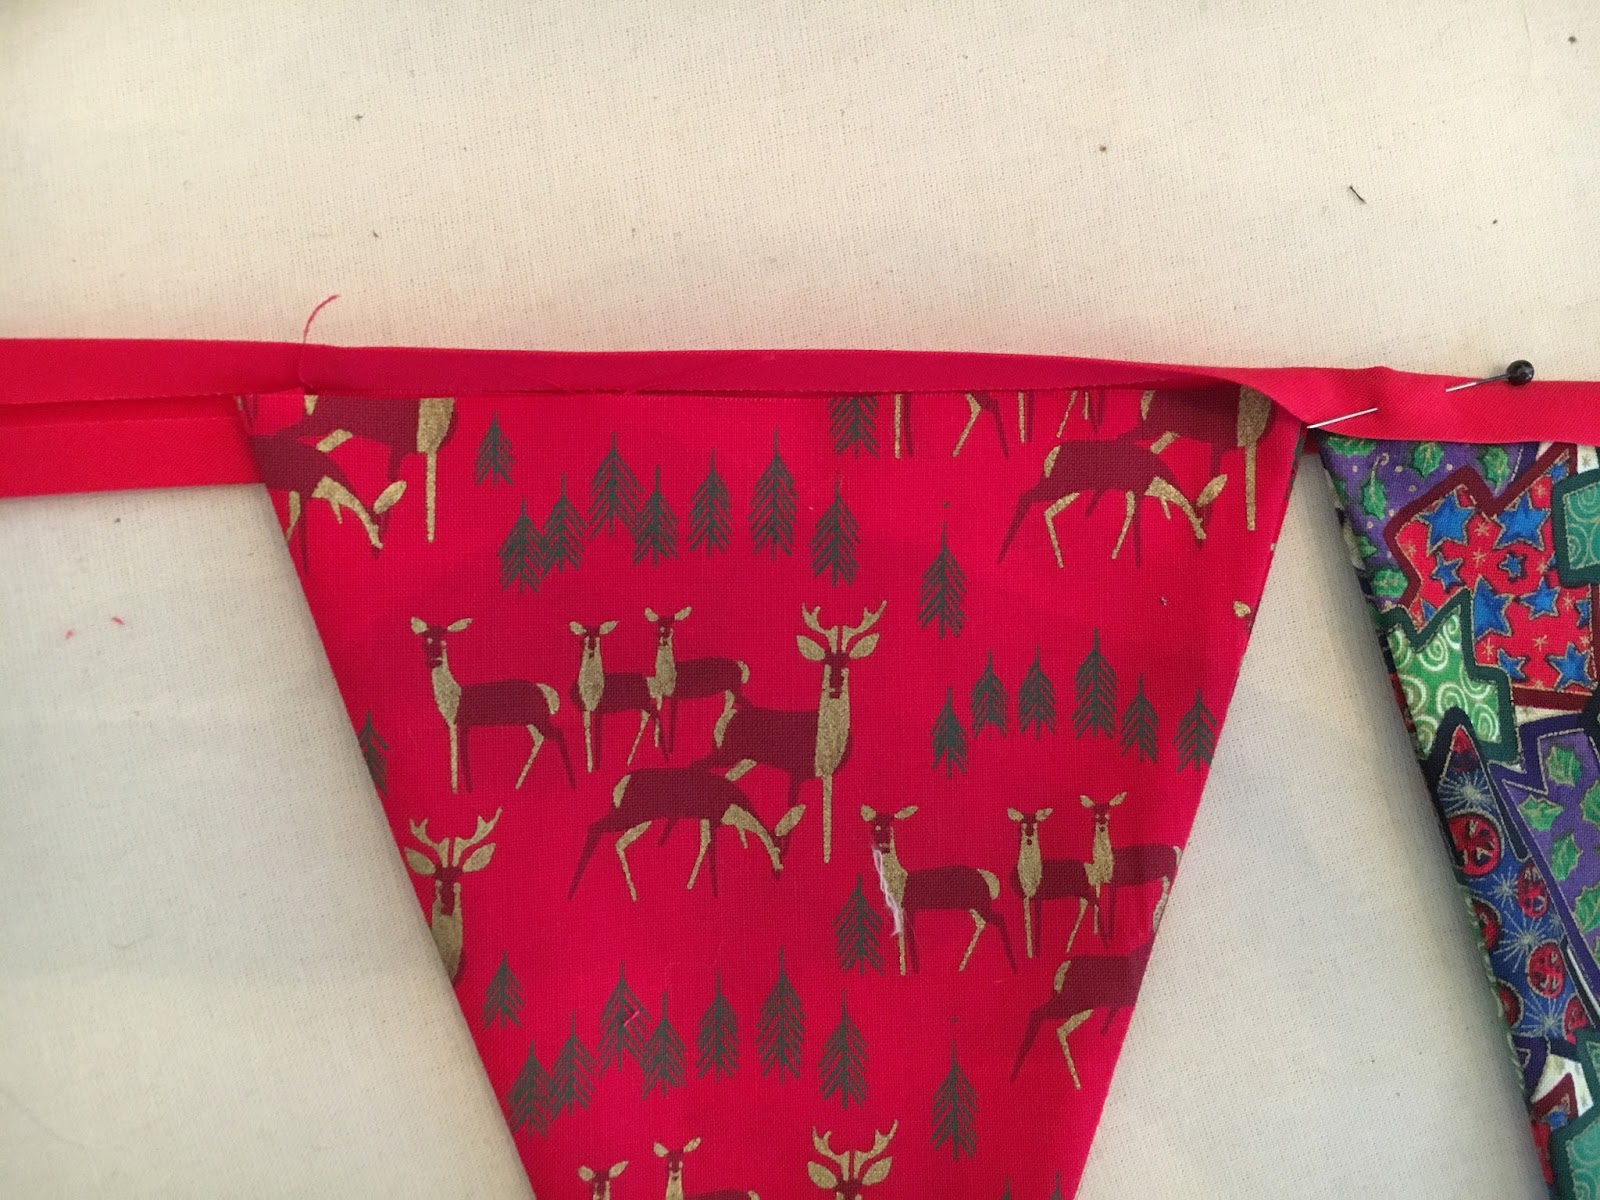
7. Find the center of your piece of double-fold bias tape. At the center point, sandwich the raw edge of one triangle in between the two halves of the bias tape, butting the raw edge up against the fold. Pin in place. Repeat for remaining triangles on either side of the center triangle.
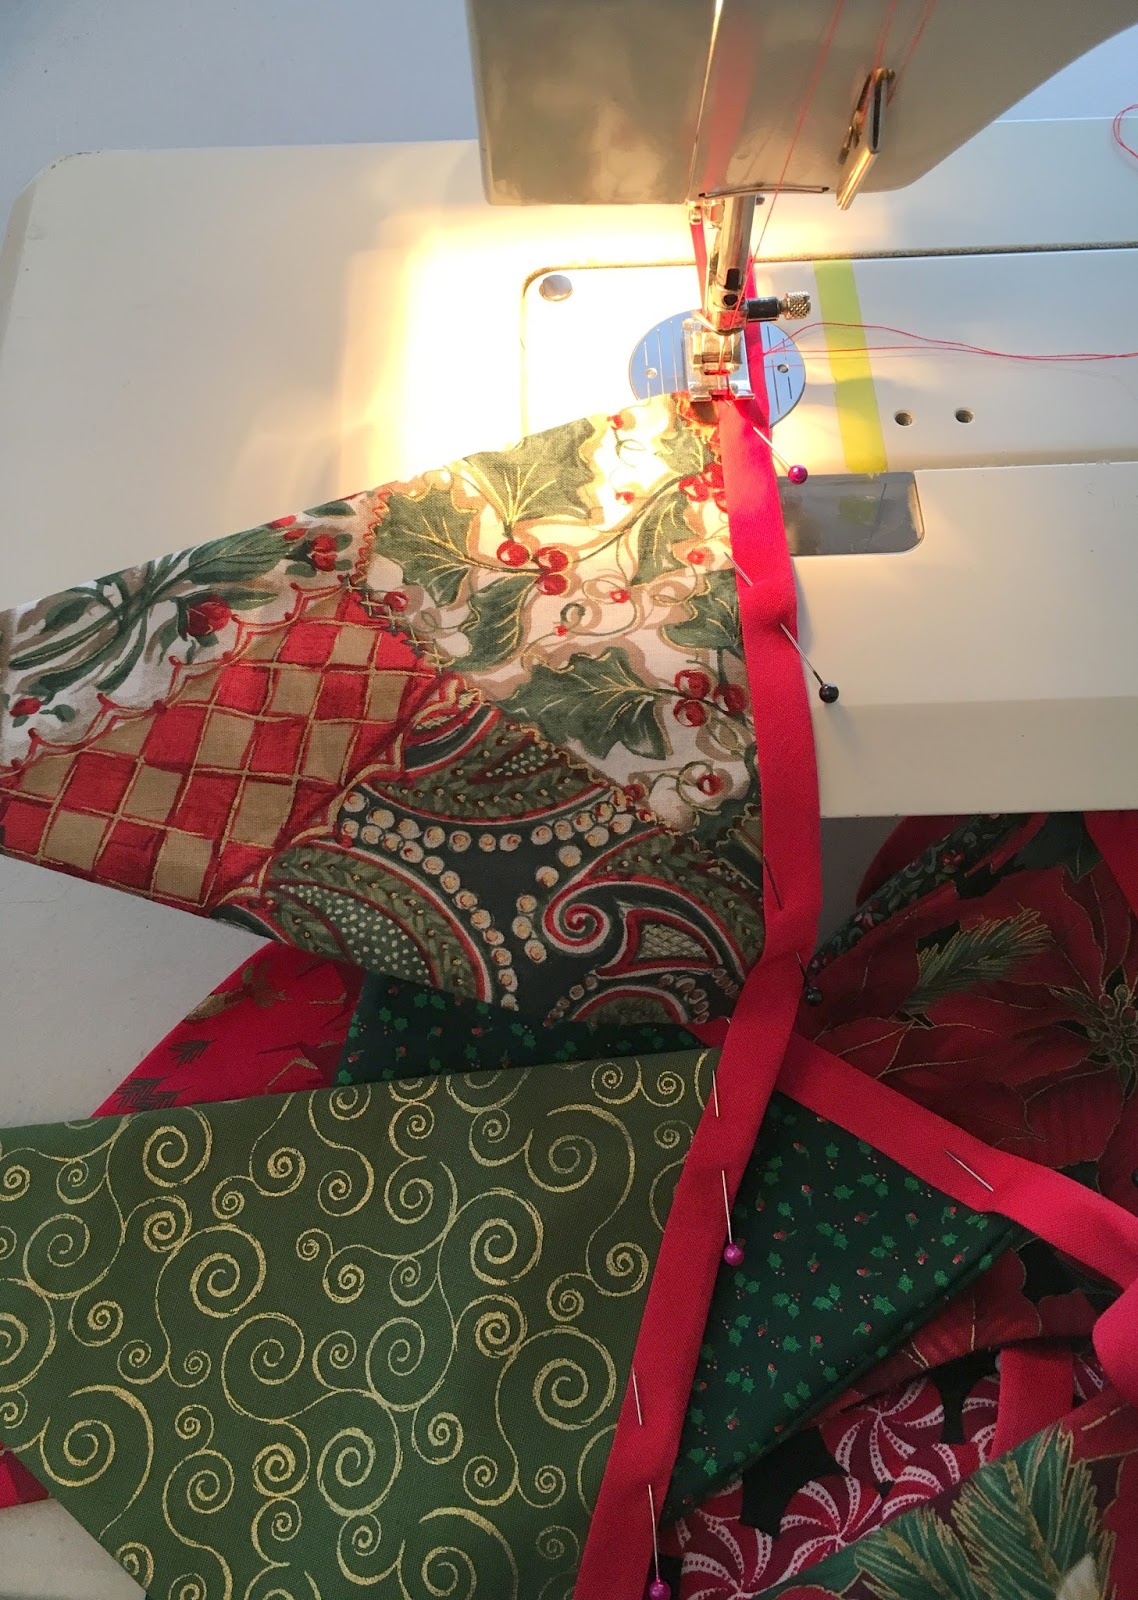
8. Edgestitch the bias tape closed over the raw edges of the triangles, sewing from the side of the bias tape that's shorter to make sure you catch the lower/longer edge in your stitching. Be sure to backstitch at both ends.
9. To hang my bunting, I formed loops at the ends, sewed them, and hung the bunting from nails, but you might find a different method suits you better.

10. Done! Enjoy your bunting.

